

Flush setting practice
Flush setting is a technique where you embed the stone in metal so it is – wait for it – flush with the surface of the metal. It’s typically done with smaller stones so the bottom of the stone doesn’t poke out of the piece you’re working on. The ones depicted below are 2.0, 2.5, and 3.0 mm cubic zirconia (CZs).
Here is a close up – these are tiny!

I purchased several online classes from Lucy Walker Jewelry with the hopes of learning this technique and being able to make a few of the really cool projects she shares. But, it has been the hardest thing I’ve tried this summer. I’m having to use new tools, or old tools in new ways. And, the work is so small that it can really only be assessed with a loupe (10x magnification). Let’s just say there has been lots of trial and error – mostly error! I am glad I decided to work with copper and cheap manufactured stones, to start.

When I started I didn’t have any metal on hand that was thick enough (14 gauge), so I soldered two pieces of copper together. I have not used my drill press for awhile, and must have been rushing or not paying close enough attention, because I broke three drill bits at the outset. Lucy recommends holding the drill in your hand, but it’s challenging to get it perfectly upright, and I figure I can tackle that once I have a grasp on the basics! The drill press reduces the number of variables I can mess up – LOL.

The scratches are from a tiny bud bur, which is like a drill bit but with a ball on the end. With the bud bur, you work up in size to remove the right amount of metal. I was supposed to use it to make an indent that kept the drill bit from skipping around, but I found it really challenging, and ultimately easier to just use the drill bit and then the burs in the drill press. That may not be possible once I am working with pieces that aren’t flat (I’m ultimately hoping to make a ring), but for now it’s enabling me to get a handle on how everything is supposed to work.

Here is a side view. You can see that the stone is in the hole but still raised above the surface of the metal; it needs to be set down further. And, I was clearly drilling too fast because I should not have that metal protruding out the bottom, either. The whole technique is definitely an exercise in patience! If I wasn’t so excited for the outcome, I am not sure I would have the stamina to stick with it.
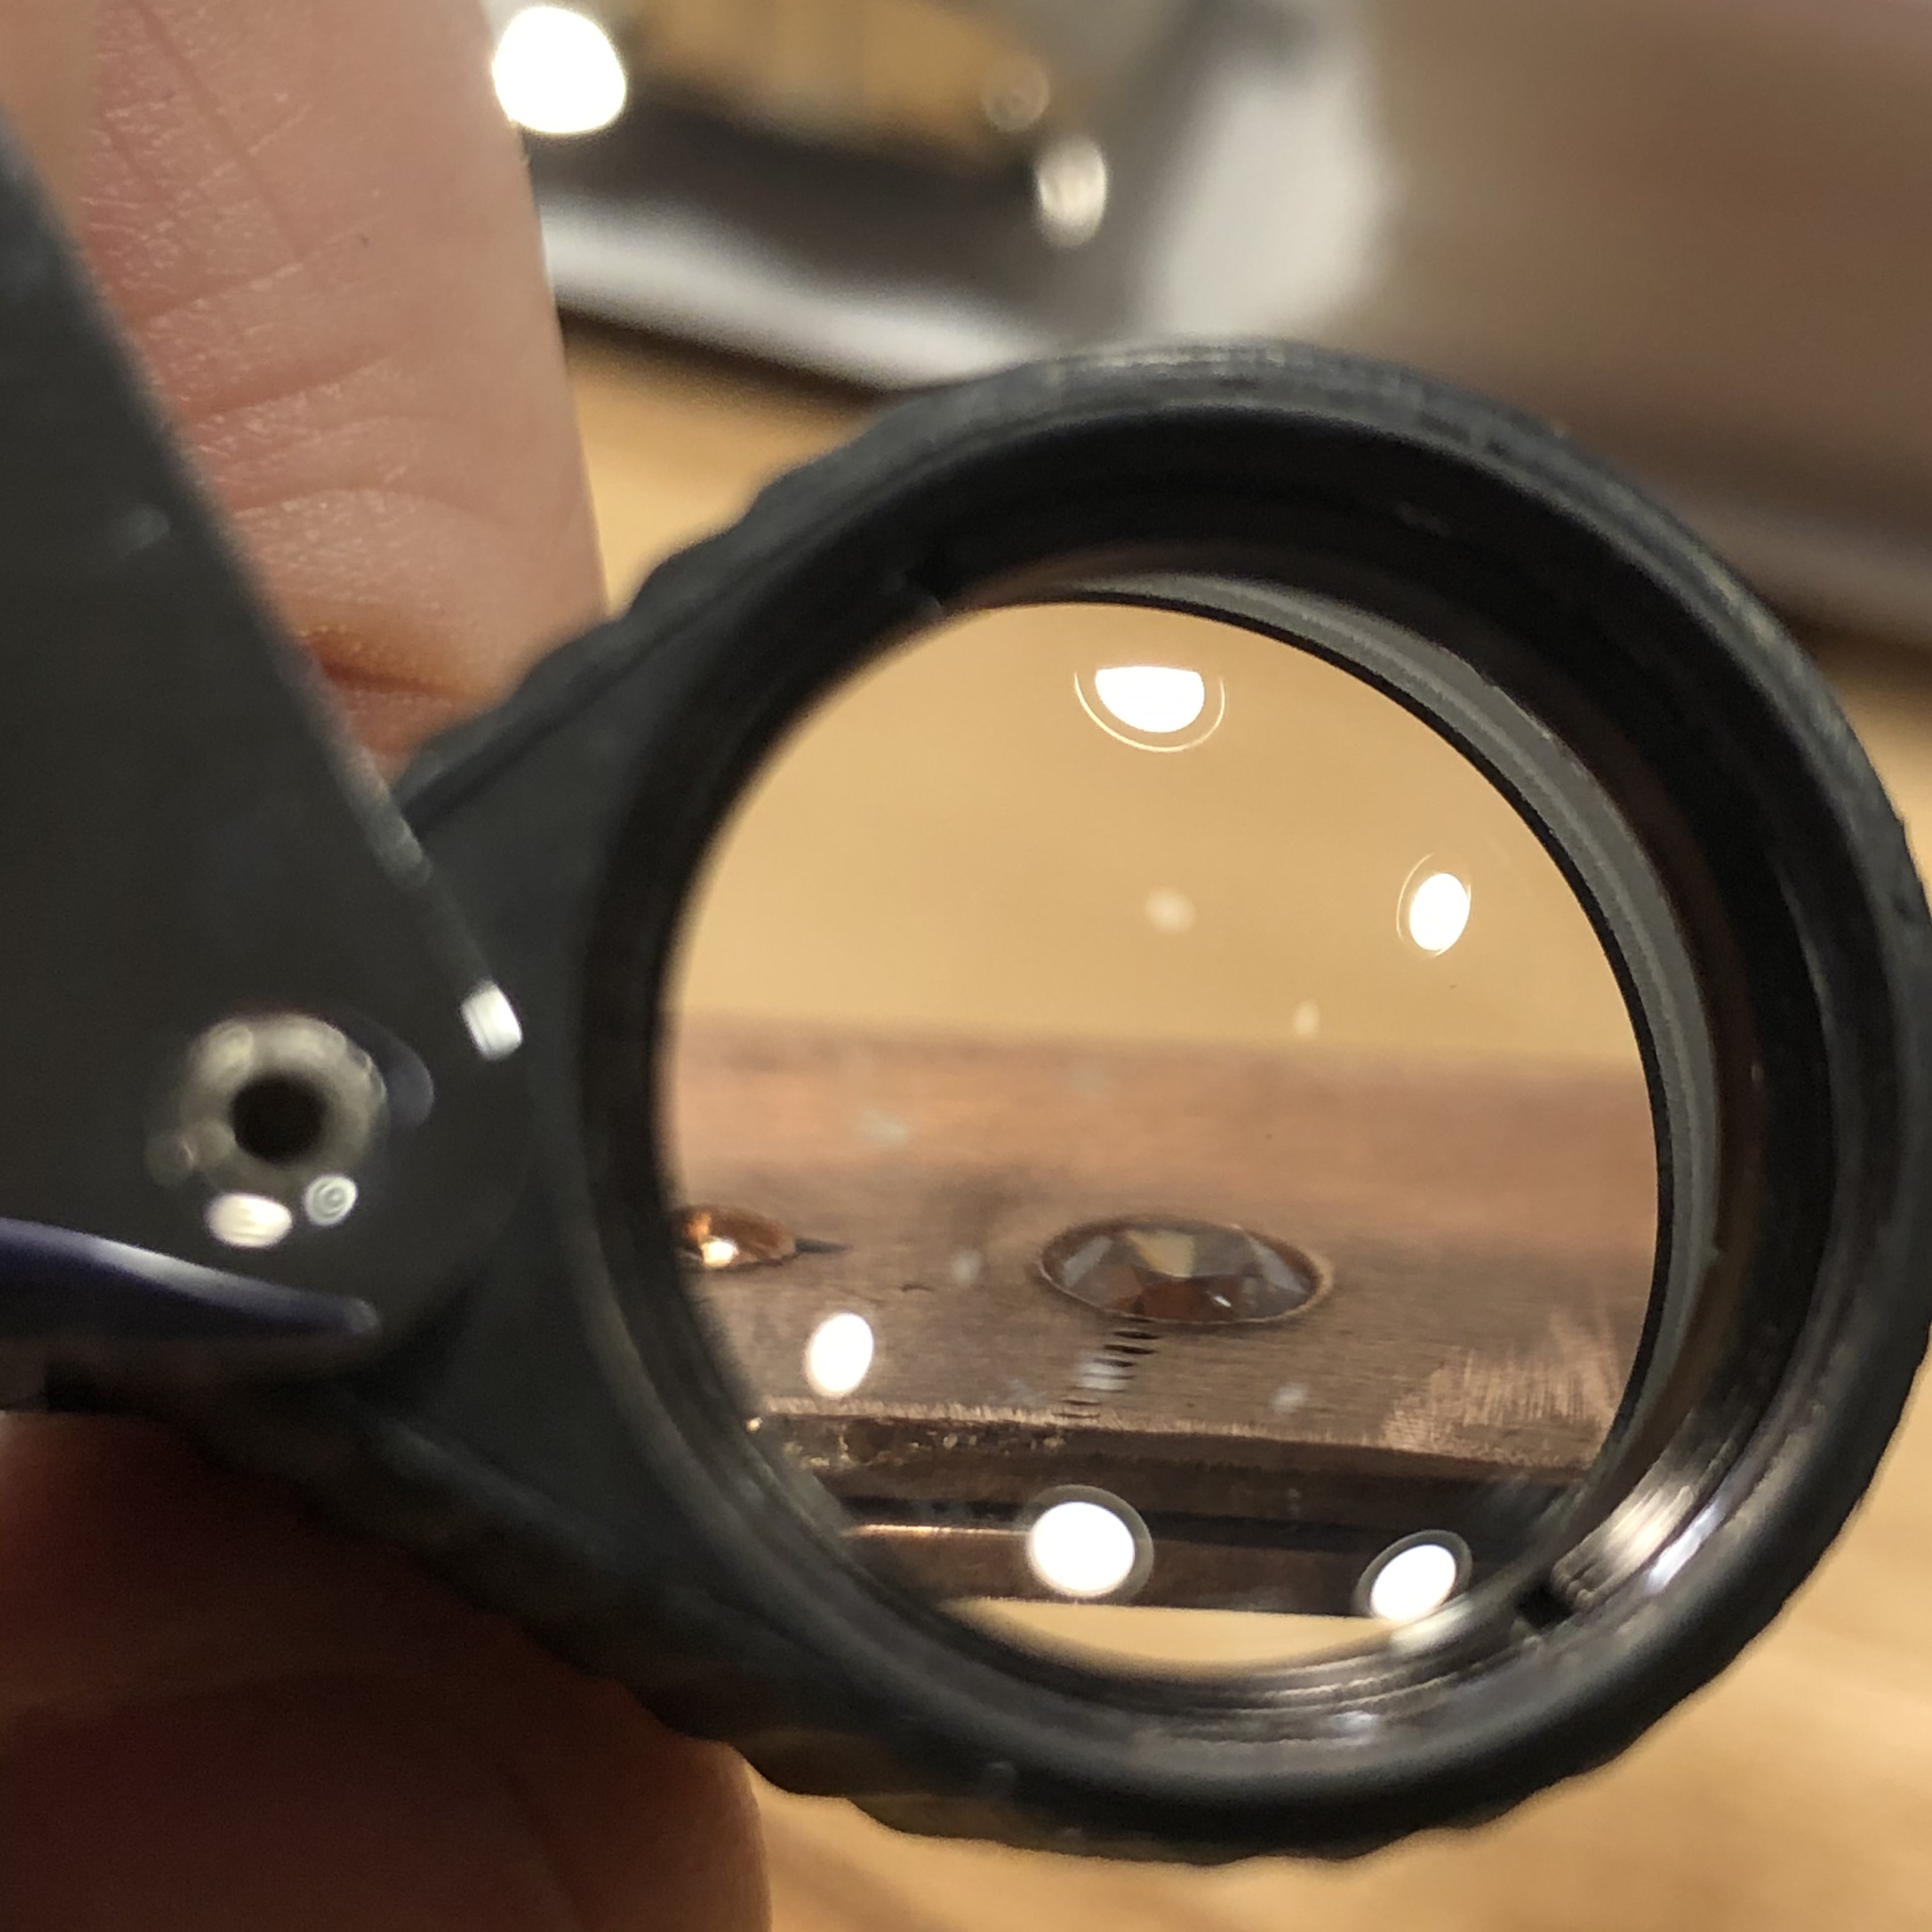
And here is a view through the loupe, taken with my camera. The hole is the right depth, but I suspect it may be a bit too wide, which is why the stone isn’t staying set.
All that said, I think I have a grasp on the basics, but I have not been able to get the stone to stay in place. I’m either making the hole a tiny bit too big, or I am not effectively using the burnisher to push the metal down around it. Either way, it’s a hot mess, and I’ve only tried the 3 mm stone so far! I’ve had to put it aside to keep from getting too frustrated, but I have a vacation week coming up so I’m going to try again soon.